Earlier this year we put up some tiles in our kitchen. We were so happy with the result that was decided to do our bathroom too. This project got off to a slow start, because around the time we were getting going with the planning we had to contend with cracked concrete on our foundation and then a leaky pipe in our walls, so those projects took priority. And then we had to go thru several rounds of picking out tile and drawing up plans, only to discover the tile house couldn’t fill our order and we had to change our plan. Also prerequisite to the actual tiling, I had to fill some cracks in the walls. Where the walls meet the ceiling in the bathroom had deteriorated over time, which was one of the motivations for tiling in the first place. I patched it up with joint compound and sanded and painted it, all of which was a nontrivial job in and of itself.
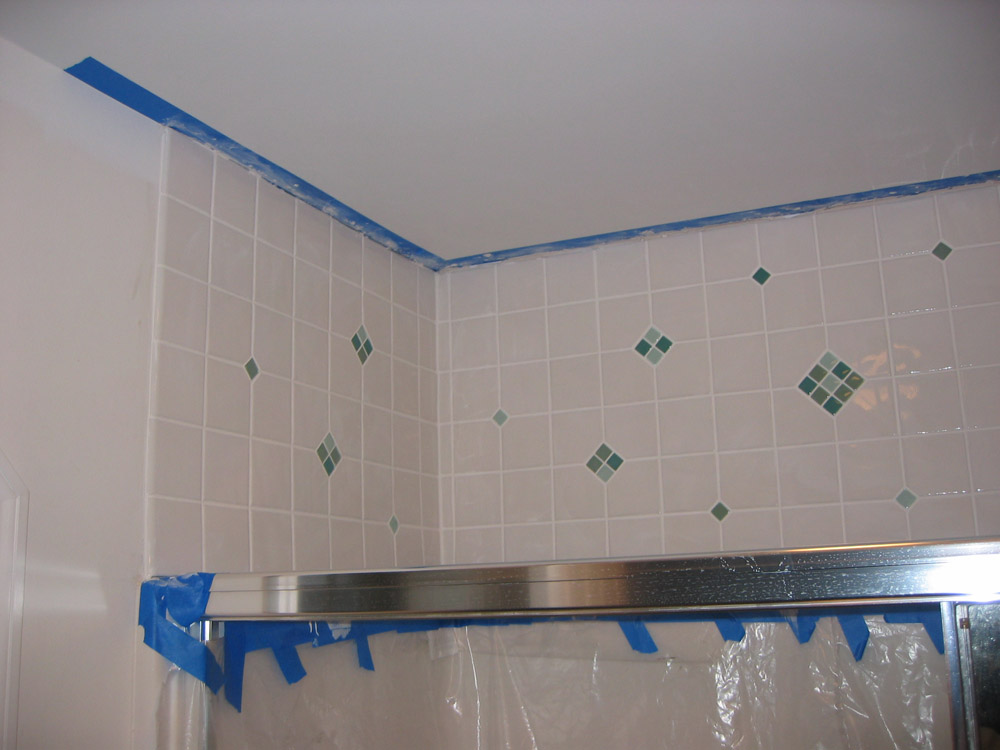
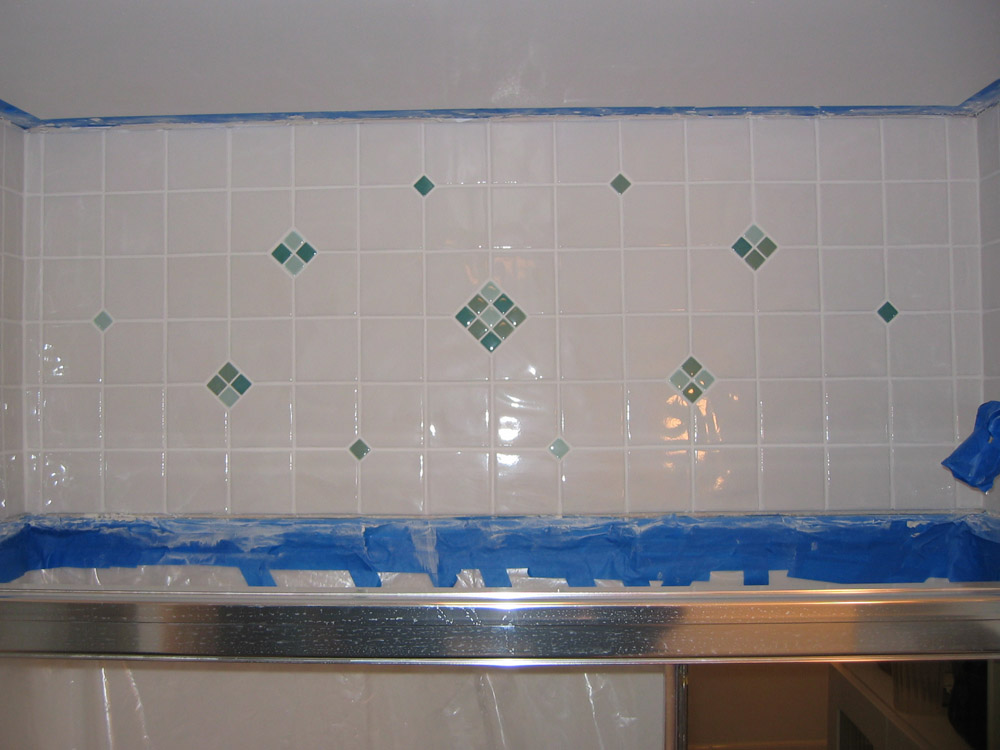
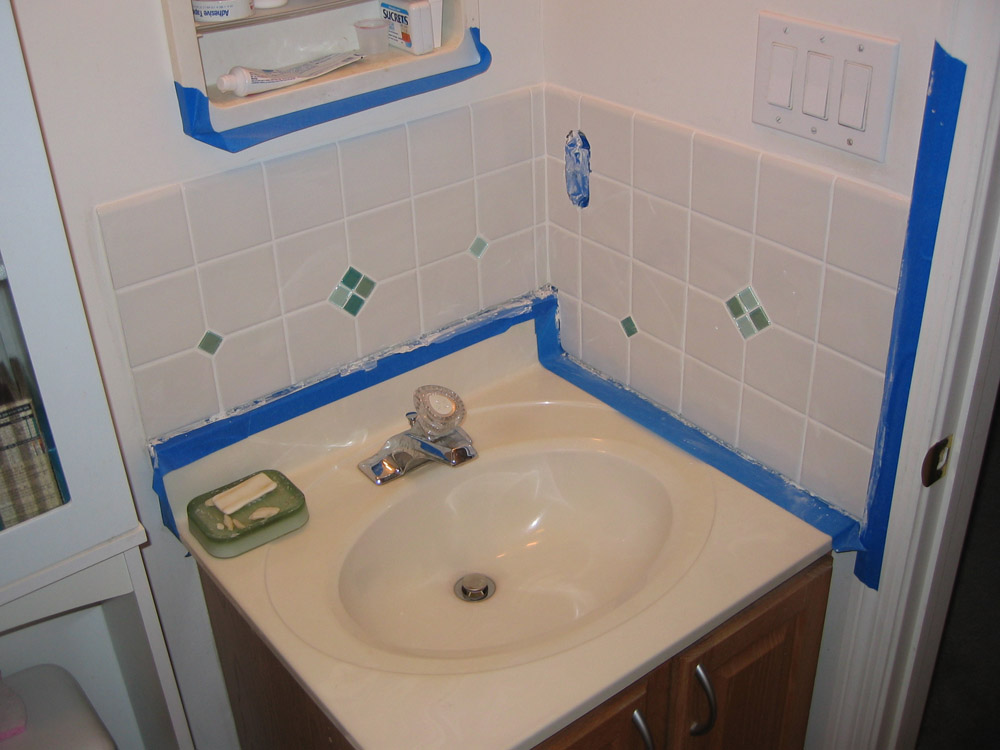
So finally over Thanksgiving weekend we had all the materials and were ready to go. We laid down all the tiles in 2 sessions, filling the area above the tub surround to the ceiling and also creating a backsplash behind the sink. We went with a motif that involved small glass tiles set into the main tile field in a diamond pattern, which called for a fair amount of cutting. Also, the walls were not square and flat, so we had to compensate for that. Luckily, compared to the kitchen there was very little in the way of obstacles, just the shower head and one electrical outlet.
This past weekend we did the grouting. All that remains is the sealant and caulking, and then we’re gonna paint the walls which did not get tiles. Going with a light green. Should be nice. When that’s all done we’ll do the second bathroom the same way but in blue, sometime after the New Year.