Been busy with work and with back to school. Lizzy is taking double math this year, including early morning algebra – 7:30 A.M.! But most of all I’ve been busy finishing off my origami book deliverables for my publisher.
One of the big things to do was take all the pictures. I had been working on learning my new camera, but it’s a pretty steep learning curve. I know the basics of how to operate a camera and set up a the lighting for a scene, but I learned all that back in the days of real film, and my skills are a bit rusty. My friend Bob is a photography buff and I asked him for some guidance, and one thing led to another, and now he’s doing the photography for my book. And it’s coming out great! He’s got some really high-end lenses, and a studio with some pretty advanced lighting. But most of all, he’s got a good eye and knows how to use the stuff. Stuff I’d have to work out and look up, he’s just zip, bam, click! Bob’s’s using multiple remote triggered flashes, which gives a really intense light and lets him use a very short exposure and still get very sharp, detailed image. Great for bringing out the texture of the paper. I’ve always used continuous lighting and a tripod, and mostly shoot in macro mode, but Bob uses a deep zoom and steps way back, and just holds the camera.
We did two sessions, a test a couple weeks ago and a long session last weekend. We have most of the models covered, except a few group shots and the last few models that I’m still folding. It struck me that it was very similar to a recording studio situation in music. It’s great to have someone focused on capturing the best possible image (or sound) to leave me to worry about the models (or music). In the recording studio, it’s about the mic placement. In photography, it’s all about the lighting. The whole thing is very controlled – even fabricated – to make the image look even better than the real thing.
Bob was a great collaborator too, more analogous to a producer than a desk engineer. We explored lots of ideas for how to best present the models. Bob’s great at listening to my concepts and working to achieve them, and also bringing in creative ideas of his own. For each subject, it was a fresh setup: what kind of background, how to light it, what kind of angle to use. I already had some ideas about what would work for a particular subject. For example, for big subject like a moose or elephant, shoot down low so the animal looks big. For something small like a frog or butterfly, shoot downward so the model appears actual size. Bob just took the whole thing to the next level. He brought in things like rocks and driftwood to set the models on, and it made for some really great combinations of textures.
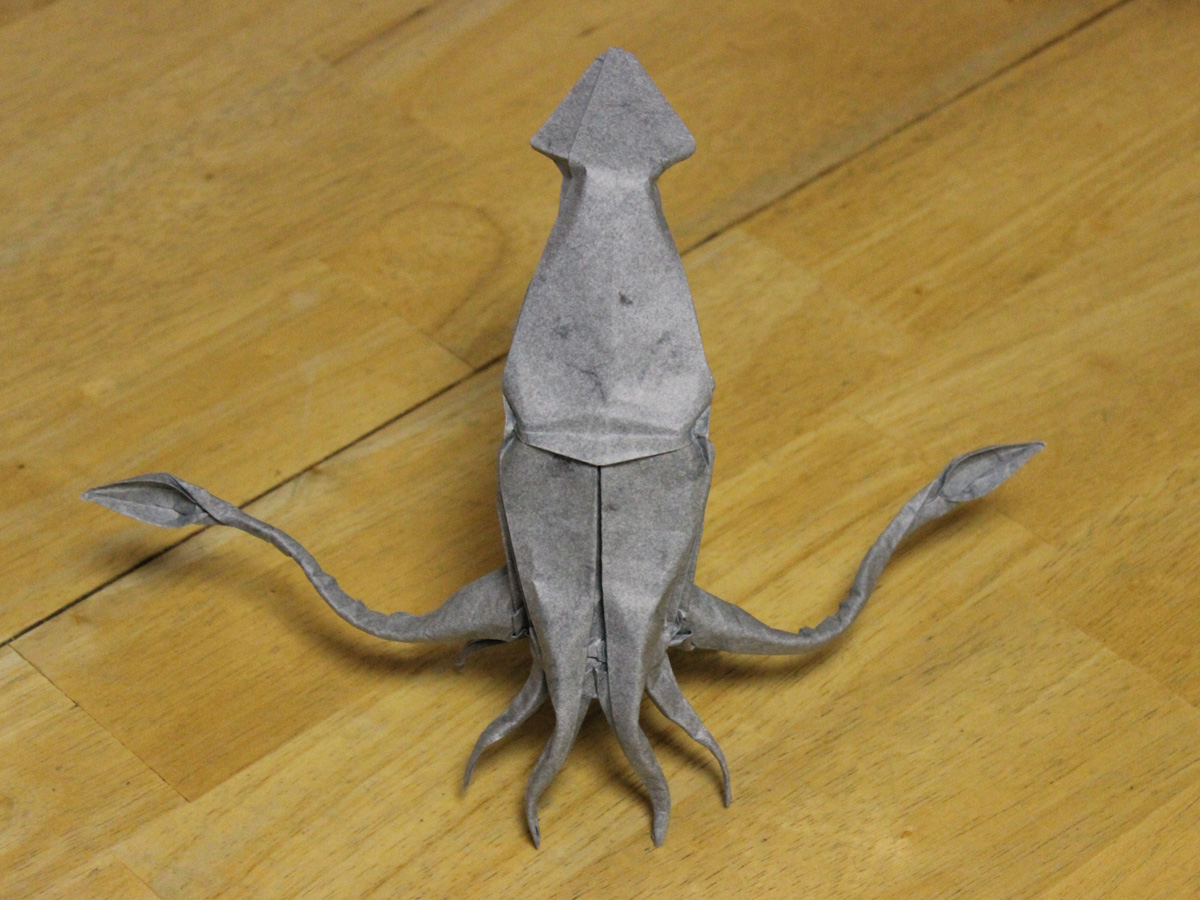
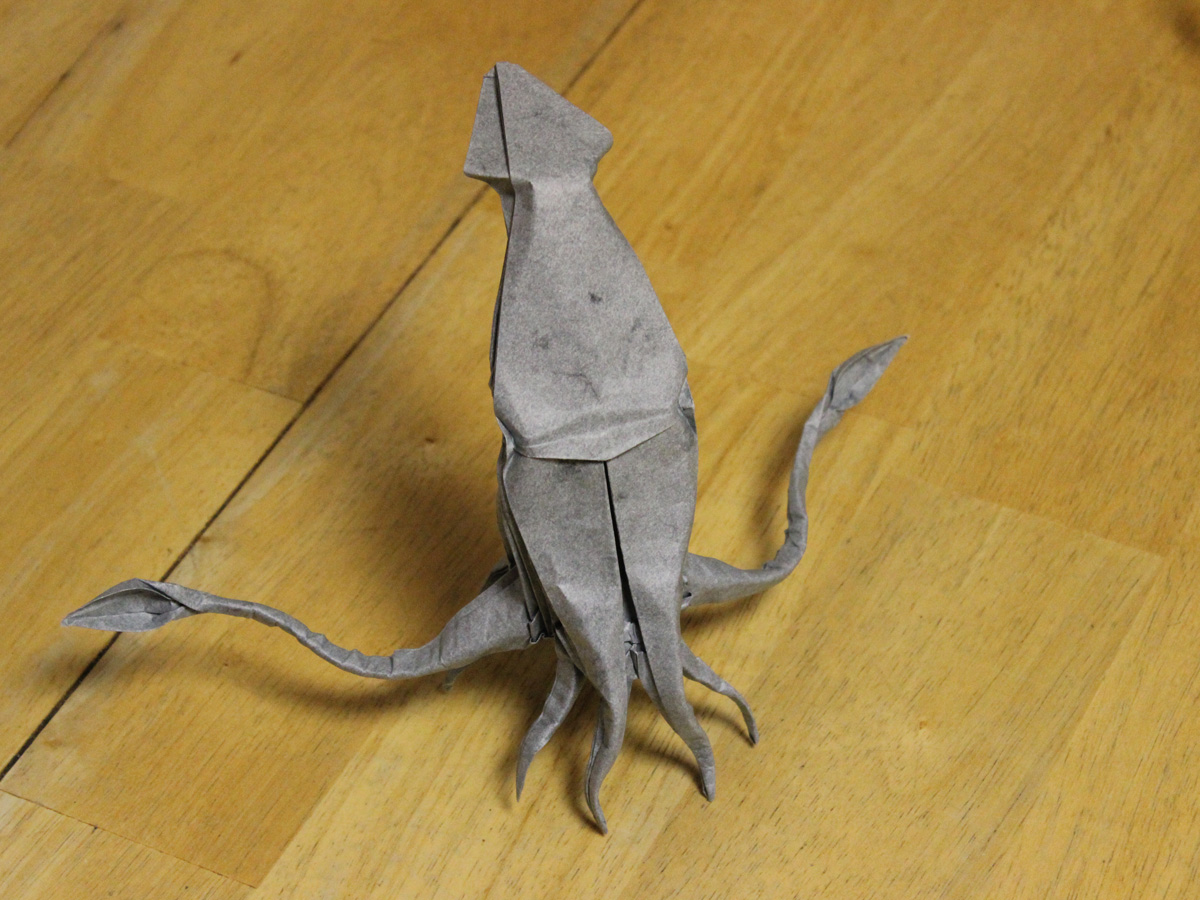
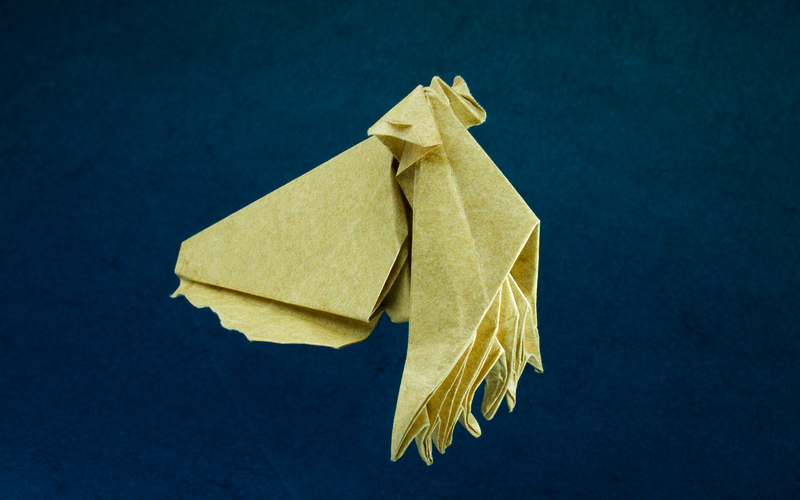
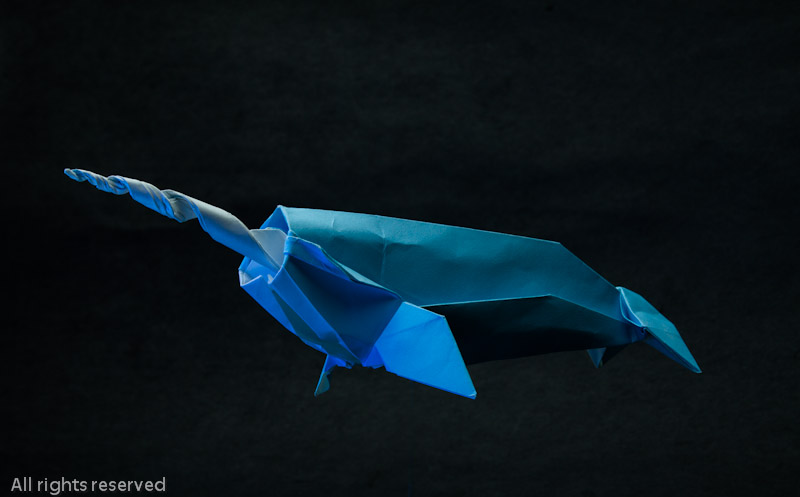
Here’s a sample: