Subterranean Home Repair Blues

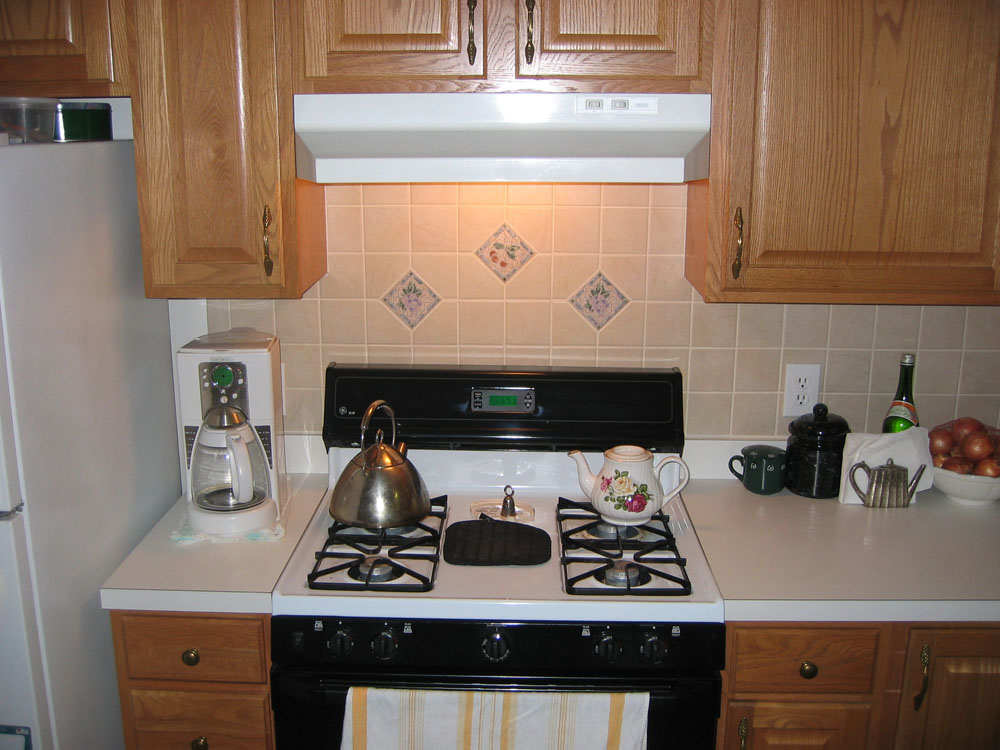
One day last week I came home from work and Lizzy greeted me with a copy of the new Lego magazine, and showed me a contest they’re having where you can win a weeklong cruise for your family by building a Lego cruise ship. This post is not the story about that, since that story involves pictures. Instead, it’s more boring stuff about home repairs.  Friday evening I got started on patching the hole in my ceiling, the aftermath of the leaky pipe. My friend Peter gave me a scrap of sheetrock, which was nice of him. I prepped the hole and put some plywood up in there to screw into, and cut the piece to size, only to discover that piece was too thick: it was 5/8″ and I needed 1/2″. So I declared we were S.O.L. and we were done for the day, and would figure out what to do the next day.

Lizzy: What’s “S.O.L.” Daddy?
Me: It means we’re out of luck, honey.
Lizzy: Oh. Hey – wait, wouldn’t that be O.O.L.? What does the S stand for?
Me: Uh, nevermind. Do you wanna play Legos?
Lizzy: Ya!

Later that very night Jeannie and I were playing D&D online with some friends online (yes we’re total geeks I know, but the campaign has gotten really interesting. She’s a Sorceress with some pretty kickass spells, and I’m a Barbarian with an axe who can deal ludicrous amounts of damage, and our party includes another fighter specializing in whirling two swords around at once, and a Cleric who is the Prophet of Holy Mysteries, the motivating McGuffin for the whole quest. Anyway, we’ve been in the castle fighting wave after wave of nasty undead, and then we found a magic blue key, and — oh, yeah I’m getting off topic here. I’ll probably blog about it again soon, as we’re coming up on the end of a major chapter.)

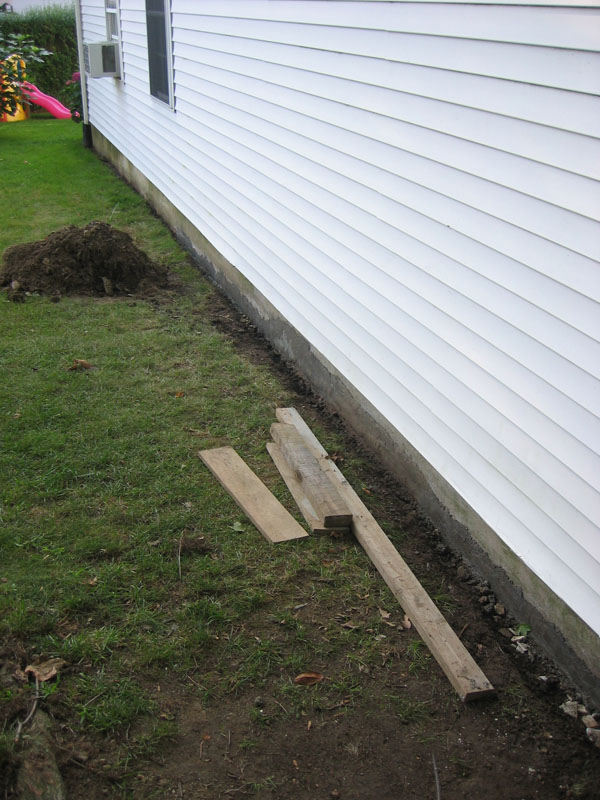
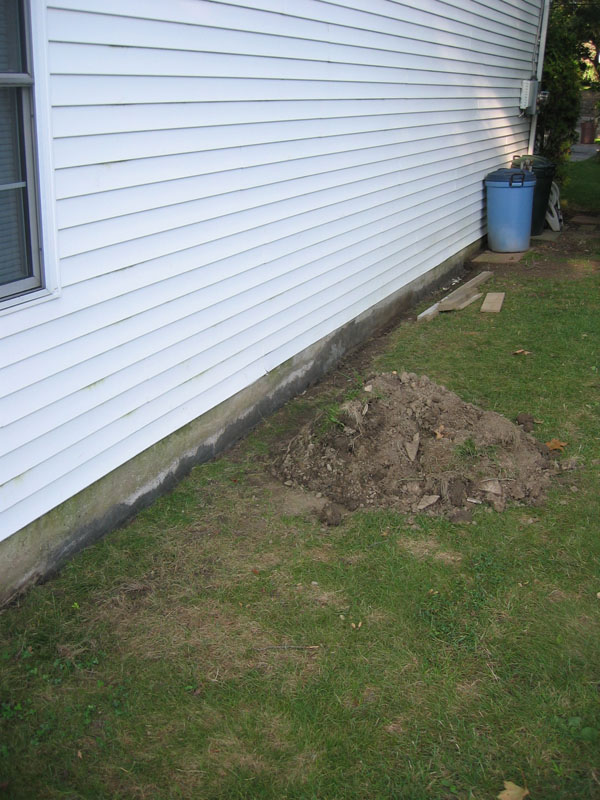
Getting back to the home fixit thread, I left the garage door open a few inches because earlier I had patched a few holes and rough spots on our garage floor with the leftover patching cement from the foundation project, and the biggest of these was under where the door came down. So at the end of the night I went down to shut the door and I hear a noise in the garage. Critter trouble! I spotted a skunk in the corner, hiding behind a pile of stuff. He looked pretty scared and didn’t want to come out of his hiding spot, so it took a while to *very* carefully unstack the things around him until I could get a broom in there and coax him to make a run for the outside. Whew!

Saturday we spent a good part of the day running around on errands including looking for a piece of 1/2″ thick sheet rock. We went to the dreaded Home Depot, which was a complete and utter zoo. They refused to cut a piece of sheet rock for me, even thought I was willing to buy a whole piece just to take home a bit. So we left without buying anything. Went to our neighborhood True Value to get paint, even though we knew they wouldn’t have sheet rock. They recommended a place called Pelham Lumber, who were fantastic. They wouldn’t sell me less than a full panel either, but would be happy to cut it. Better still, when I got there, they said I could take a look around the yard and if I found a piece of scrap I could use I could just have it. So problem solved, and I put the piece up there and did the whole tape and joint compound thing.

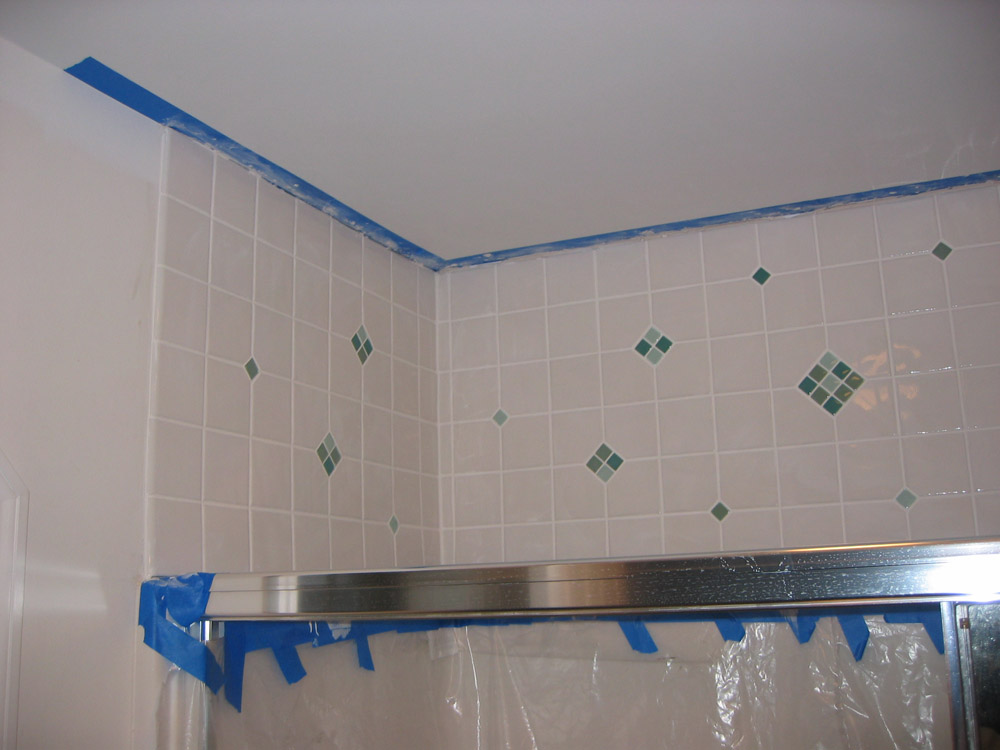
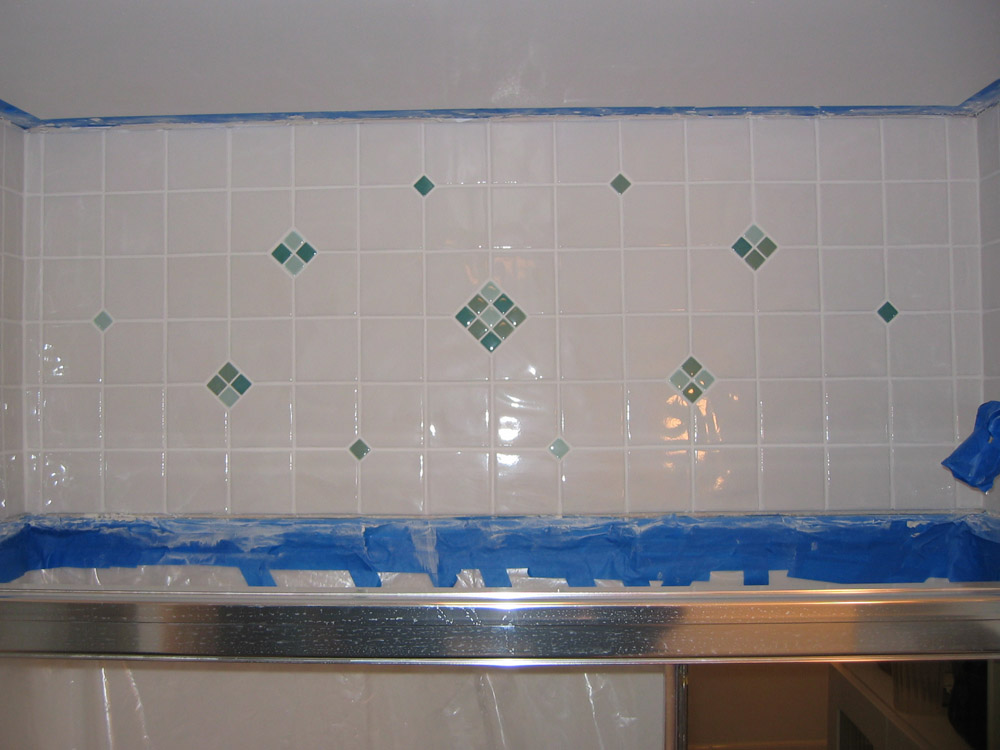
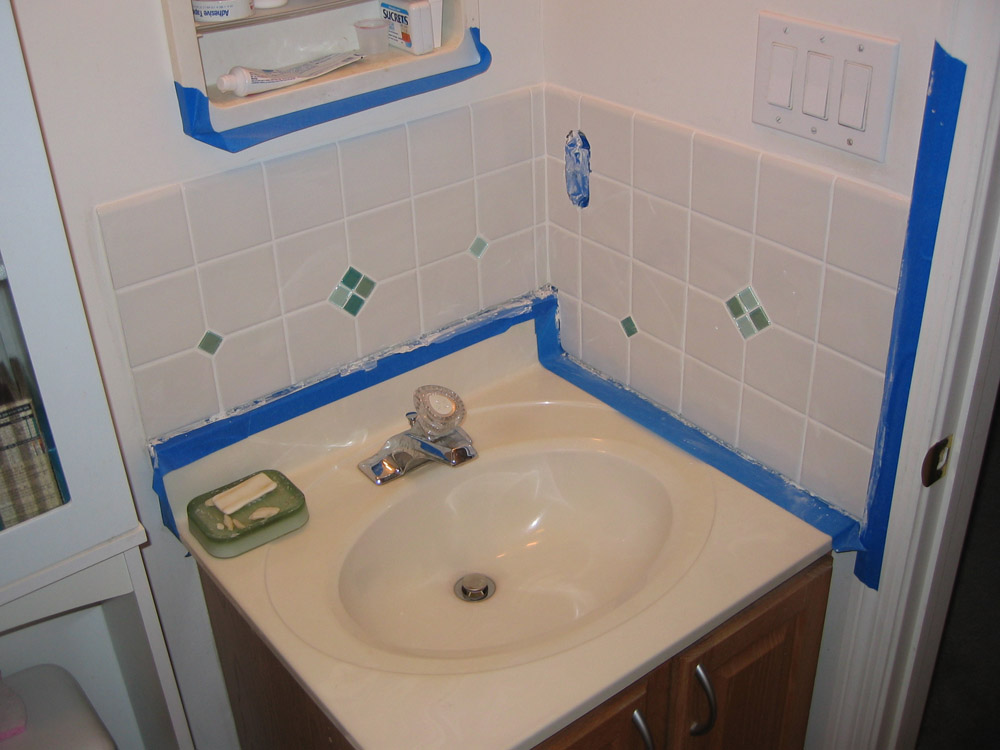
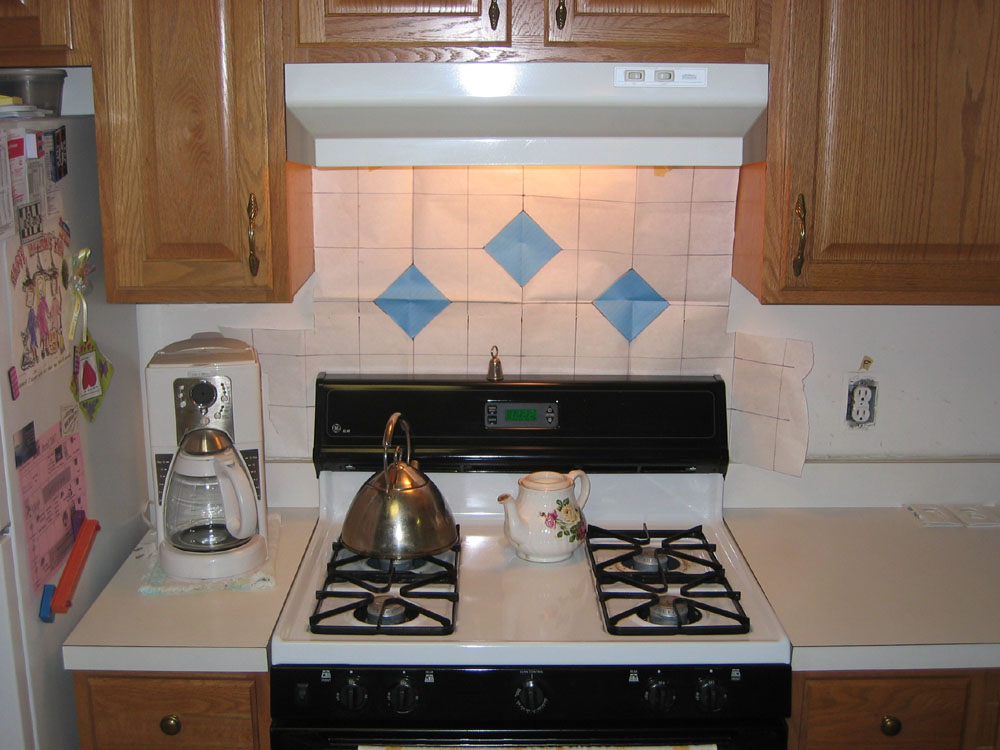
Sunday I sanded it and put on another layer of joint compound, and took the rest of day off to do stuff like go mountain biking, have one last barbecue and play legos with my kids. Last night it was time to paint over the patch. The paint matched perfectly cuz we brought a piece of the old ceiling to the hardware store and they matched it with a machine. Amazing what they can do lasers or spectrographs or whatever they use these day. While I was at it, there was a spot in the hall I thought I’d touch up. It was then I realized that the ceiling of the laundry room is the same color as its walls, not the rest of the ceilings. Everything in our house is shades of white and off-white, you understand, except the ones that are bluescreen blue. The bad news is we’re gonna need to paint the ceiling of our bathroom after we do the tiles in there, and it would’ve been good to have a match on that paint.

The good news is that it’s the same color as our family room, so I suddenly was able to touch up the spot where there was water damage from a crazy thunderstorm once, and where the futon crashed into the wall as someone was opening up into a bed once, and the place where my nieces drew on the wall once, and so on. One thing kind of led to another and I ended up doing a substantial amount of touch up, a random task that’s been on my todo list for a long time. Finished that up tonight and am enjoying a well-earned beer. Next up: lego cruise ships!

Plumbing the Depths

The leak in our laundry room ceiling was getting larger and damper until we decided ignoring it and hoping it would go away on its own was not a good strategy. I was really dreading having to work in it, since I didn’t really know how to diagnose the problem, or quite possibly fix it, plus I just came off a rather large unexpected home improvement project. Luckily for us, help was at hand. Lizzy has a friend at school, Hannah, and as luck would have, Hannah’s dad Peter is a plumber, and was happy to help us out. Thank you Peter!

He came over and cut a hole in our ceiling and had a look. He knew just what he was doing and had the tools, and so pretty quickly he spotted the problem and fixed it, so that was just great. It turned out to be the toilet — a slow intermittent leak because the main seal was starting to go. So whew. My big fear was that it would turn out to be the bathtub and we’d have to tear out the whole tub surround. We’re planning on tiling out bathroom this fall, so now would be a good time to know about it any event, but luckily that turned out not be the case. Everything else up in the space between the floor and the ceiling looked nice and dry and clean.

As it turns out, Peter is from Liverpool, UK, so I get I by with a little help from my friends. Now all I have left to do is fixing a hole. Sheet rock, taping and painting. From this point on there’s nothing I can do that can’t be done, even if it’ll take another weekend or two. I feel like I’m in a ever-widening circle of projects like this, so hopefully I can finish getting things fixed before something new breaks. But then tomorrow never knows.

Dirty Work

So this weekend I finished off my fixing-up-the-side-yard project by re-grading the area where the foundation had cracked to avoid water from pooling there again. I made a trip to home depot one evening last week (can’t stand that store, but they’re the only place around open after 6 for that kind of stuff) to get supplies. I got as much dirt as I thought I’d need, which also turned out to be about as much as I could haul, 18 cu. ft., which was 720 pounds, plus some stones and grass seed. Once I started it was clear I’d need more dirt, so Jeannie went to our local Ace Hardware (a much nicer store: smaller, well stocked, helpful and great service), for another load. She called ahead and they loaded up her car for her. In the end I used about 36 cubic feet (1.33 cubic yards) of dirt.

While I was at it I added some stepping stones for a little footpath, and re-seeded the area for new grass. I used a product we call “the blue stuff”:  it’s a combination of grass seed mulch and fertilizer, and it works great. We ought to have new grass in just a couple of weeks.

Here are some pics of how it turned out. Thank goodness that job is done. We want to move on to tiling our bathroom this fall, but another fixit project has emerged that will have to come first, and it promises to be even less fun than this one: The other day we noticed a damp spot on the ceiling of our laundry room, directly beneath our bathroom. Oy!

Foundation’s Edge

Ah the joys of home ownership. Having things means having to fix things. Is maintenance a creative act? I suppose in the sense that it opposes destructiveness it is, and also that you may make something new along the way to fixing something old and broken.

Earlier this spring I noticed some cracks in the concrete along the foundation of the north side of my house. The concrete is below the siding, a protective/decorative layer that covers the actual foundation of the house. It’s a generally damp and mossy area, and in the spring sometimes puddles can form there. I suspect the cracks were initially caused by water freezing.

Meanwhile just outside out front door one rainy day, there was a mushroom growing from the bottom of the door frame! It turned out the wood down there was rotting cuz the weather seal had worn out and was leaky, so the end of this piece of wood was sitting in a puddle in the door jamb every time it rained.

A couple weeks ago I finally got around to tackling these projects. For the door, I cut away the old rotting wood, the bottom few inches of a piece that runs vertically on either side of the door frame. Then I cut a couple pieces of new wood to fit the void, glued ’em in to place and filled in the gaps and cracks with wood putty. Later that day I sanded of the excess putty and gave it a coat of paint. More paint and new caulk would have to wait for another day.

As for the foundation, I thought I could just put a little fresh cement over the cracks to seal it. But no. When I started to clean the moss and dirt out from the cracks, it became apparent the facing cement had separated from the layer underneath as big slabs of the stuff fell away. Some moisture had gotten up between the layers, and tree roots followed. So I ended up digging a trench along the side of my house to get to the bottom of the damaged area, and pulled of quite a bit of the facing cement. This took the better part of a day and I had only exposed the damage, not even begun to fix anything. What I though would be a quick fix turned into a major project!

From here things turned slow because I only have a little bit of daylight left in the evenings when I get home from work, and we were away the intervening weekend, so I had to break things down into bite-size tasks and do a bit each day. This worked OK for the front door. I ended up having to give it a few coats of paint for adequate coverage. It only took couple minutes to do the paint, and then wait a day for it to dry. Finally I was able to put down new caulk and the job was done.

An interesting consequence of this was that there is a population of ants who make their home under my front steps. When I sealed up the repaired area I must have blocked of the way in and out of their home, because that night I opened my front door and there were dozens of ants in the space between the front door and the screen door, and some were making their way into the house! We sprayed the area and put down ant traps, and that was pretty much the end of the ant party. They have found a new way out, because yesterday I saw a bunch of ants climbing around the side of the steps near my rose bush.

With the foundation it took better part of a week to clean the area and apply a layer of patching cement just to cover the crakes that were left when all the bad concrete was removed. So two weeks after I started I put down a whole new layer of facing cement, a job that took the better part of a day and was not really a whole lot of fun. Finally last night I put down the patching cement to seal the joint between the old and new cement. So we’re in the home stretch now. The only thing left is to refill the trench with dirt.

Of course this leads me straight on to the next project. I want to get some dirt to fill in the low spot so rain water will flow away from my house rather than form a puddle. While I’m at it, there a few paving stones around the area that were left over from when I built my patio. >I want to buy a few more and make a proper little foot path. I hope to get this done this fall.

Kitchen Tile Project, Part 2

I’m happy to be able to say that we’re done with our kitchen tile project, and it’s a success. Lots of steps involved, the tiling, grouting, sealing, caulking, and finally touch-up paint. But that’s all behind us now, and nothing left but a nice looking kitchen. Later this year we’ll see about the bathrooms …

Section the first.

Section the second.

Section the third.

Detail of the fancy tiles above the oven.

Happy Spring, Again

A couple weeks ago I thought spring was here but then it turned cold and stormy, and we had lots flooding in our neck of the woods. (The federal and state governments both declared our county a disaster area, but apart from a temporary pond in the neighbor’s backyard, the storm had little impact on us.) The last few days it’s been absolutely perfect. Such a joy. I spent some time last weekend on our yard, raising up some stones on our garden path that tend to get washed out with mud when it rains. Big lower back day. Toward the end of the week we had a pretty good rain, and it appears the project was a success because no mud washed up on the stones. BTW, this is part of the larger leveling-the-patio project that is coming up. I’ll take the opportunity to tell the story of the patio project when the time comes.

Meanwhile, check out our flower bed.

Kitchen Tile Project, Part 1

Lately we’ve been working on putting up tiles in our kitchen. When we bought our house we made a list of thing we wanted/needed to do to fix it up, and putting tile in the backsplash area was in the plan from the start. Right when we moved in I painted a good part of the house, including the kitchen, but left that area unpainted, figuring I’d get around to it soon. Well five years went by, and we were busy with other things, but last Thanksgiving we kinda messed up the wall carving the turkey, and discovered the limitations of cheap paint (it can stain) so it was time.

Now neither Jeannie nor I had ever done any tile work before, although I’m pretty handy and she’s an expert in stained glass. Still it seemed pretty daunting to get started. But we bought some books, and made some trips to the tile store and figured out what tools and materials we needed, and finally picked out some tile and bought everything.

We put up about half the tile last weekend. Honestly the prep work, planning measuring and cutting takes more time than the actual laying the tile. Here are some pictures of our kitchen as a work-in-progress. Hopefully I’ll be able to report back in a week or two that we’re done it was a great success.

A bit of tiled wall, with our tools.

As you can see, we’re about half done.

We have something special planned for the area above the stove. Jeannie picked out some nice accent tiles.

We have 7 electrical fixtures to contend with in this small space. Making these U-shaped cutouts was tricky. Luckily Jeannie came thru with the glass grinder!

I had to pull out a tile because a screw on the electric box was sticking out and the tile wouldn’t lay flat.